
How to Build Your Own Ice Bath for Less Than $1500. Download our PDF Below!
The PDF will contain direct links to the materials needed for DIY assembly. You will be given immediate access to the PDF upon submission.


OPTION 2: How to Build Your Own Ice Bath for Less Than
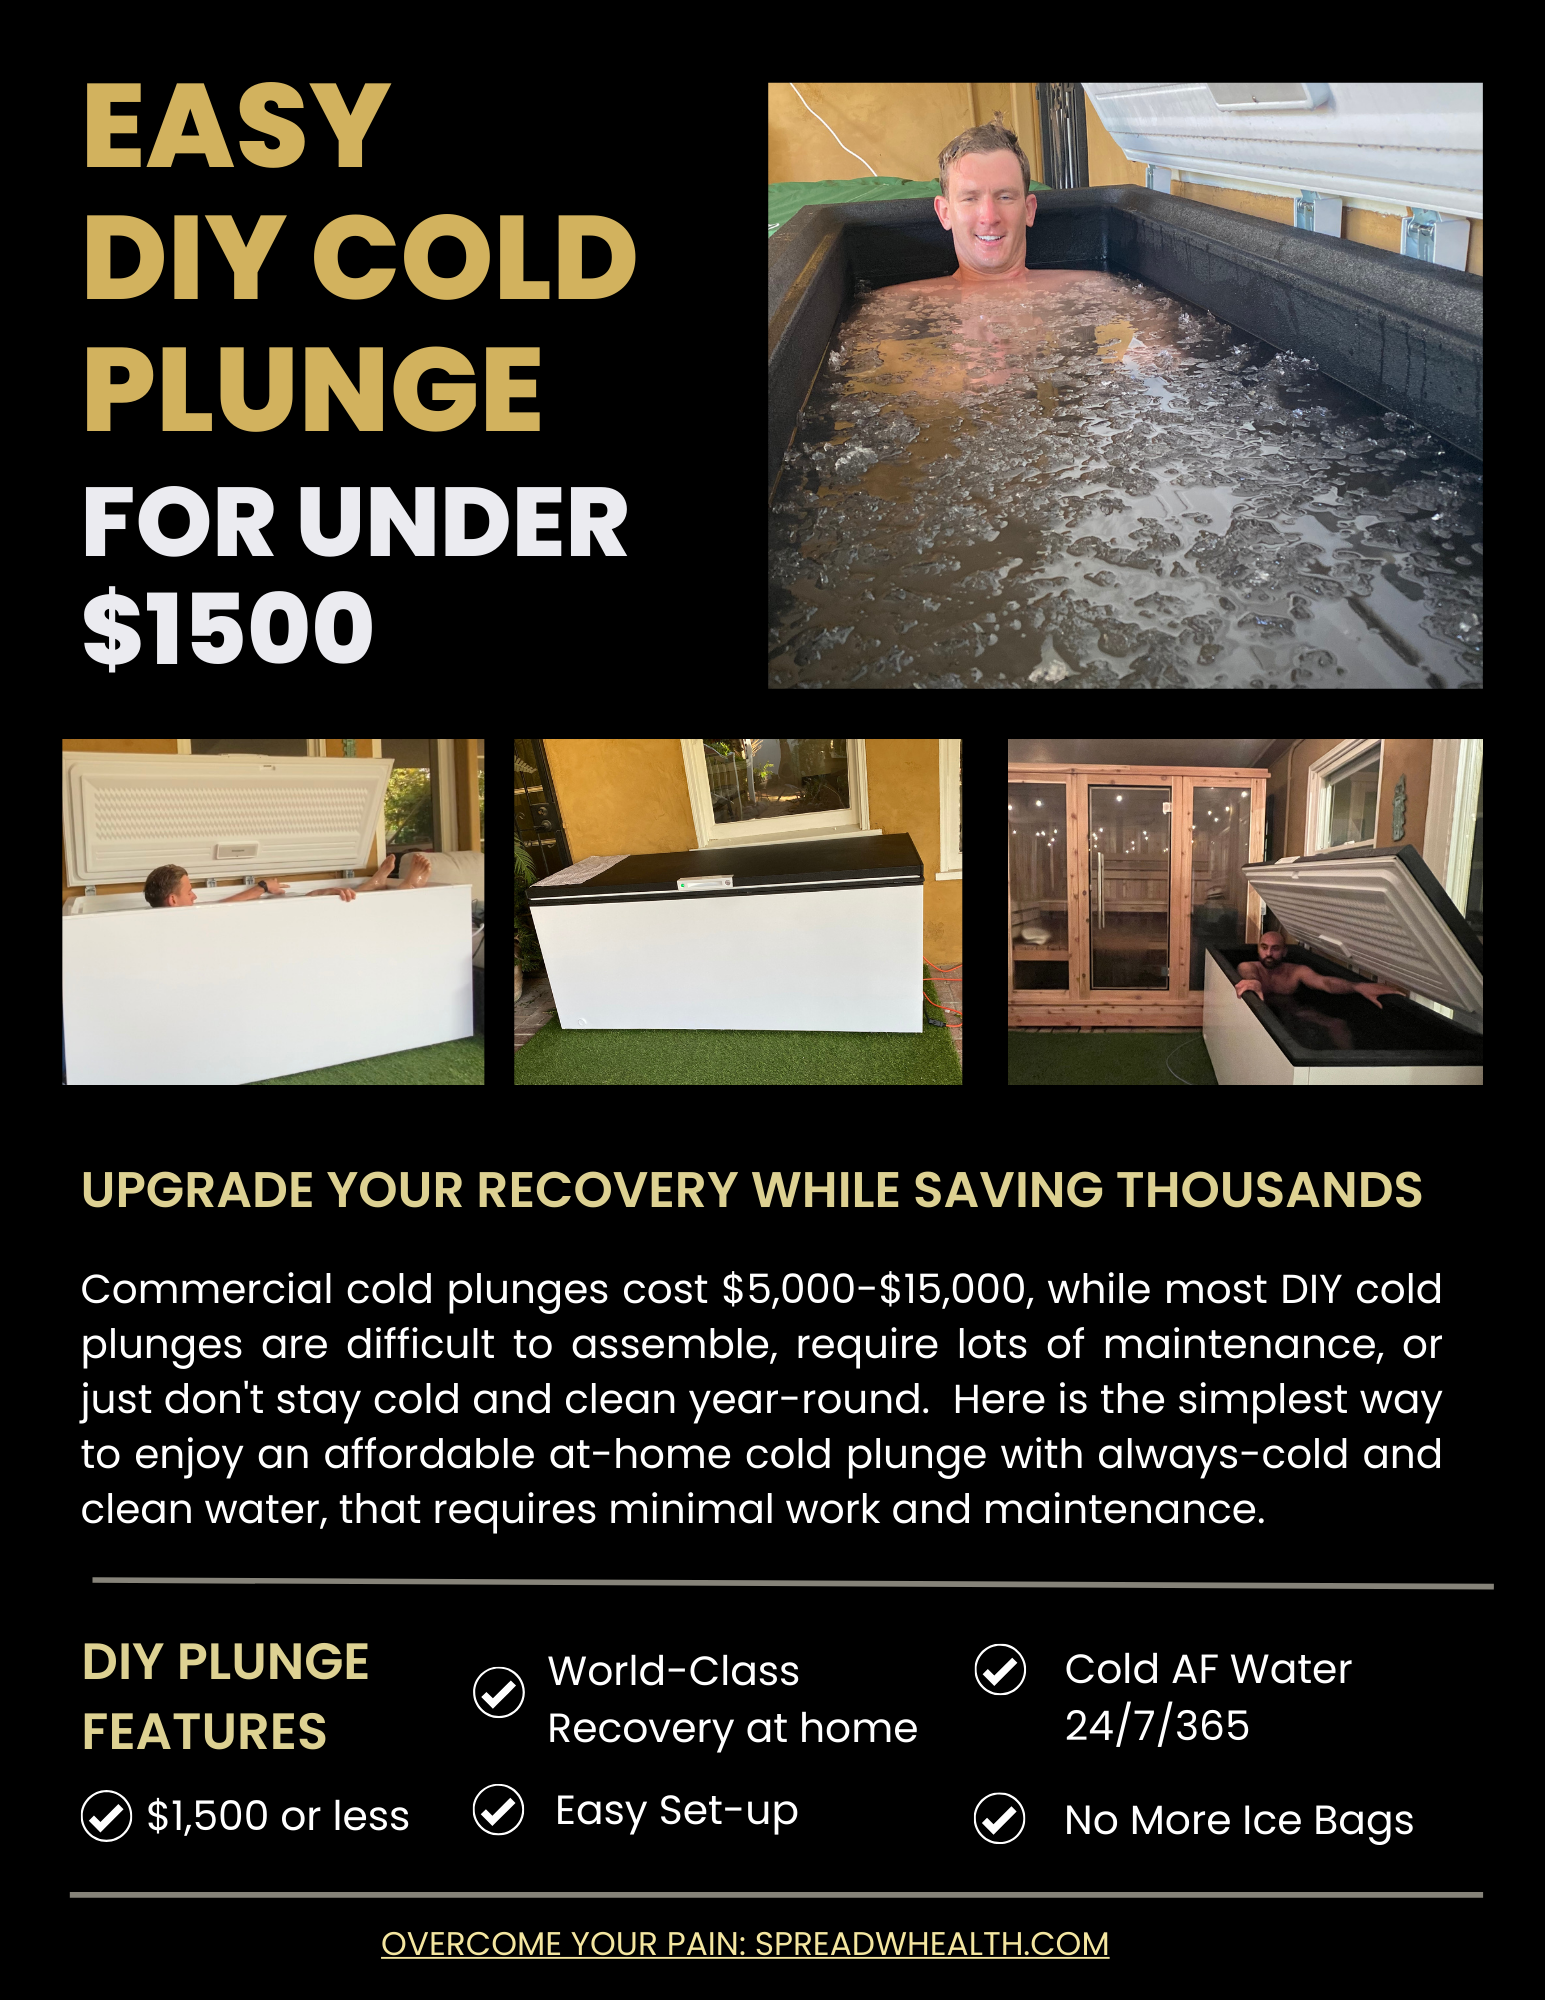
Ice baths, cold plunges, and cold exposure therapy are continuing to gain traction as therapy to help with a host of conditions. Promoting alertness, mental wellbeing, and physical improvements are just a few of the reported benefits. For a more in-depth look at the benefits of cold exposure, check out our Blog on the topic. Options on the market include ice barrels, the cold plunge, and many others that range from $5,000 - $10,000+ for an at-home ice bath. When I saw this, I thought, there has to be a way to get these benefits by building your own ice barrel for a fraction of the price. After, doing a bit of research, I found an option that was simple and that it is possible to build a DIY Ice Bath for $1500 out of a chest freezer. Here’s the complete guide with videos walking you through how to make an at-home ice bath so you can experience the benefits of cold therapy at a fraction of the cost.
-
Required
Drill
Saw
Optional
Circular Saw
Reciprocating Saw
Random Orbital Sander
-
55 Gallon Plastic Drum: $59.98
Spigot Kit: $27
Optional- Ice: ~$12
Total Price: ~$98.98
-
I built the steps out of scrap wood that I had from previous projects. If you’d like to build a step from scratch you can get the job done with the following-
A small sheet of 3/4” plywood
~6’ worth of 2”x4”
Optional-
~5’ of Melamine shelving material
All-Weather Spray Coating
Prep Space to Make your Ice Barrel
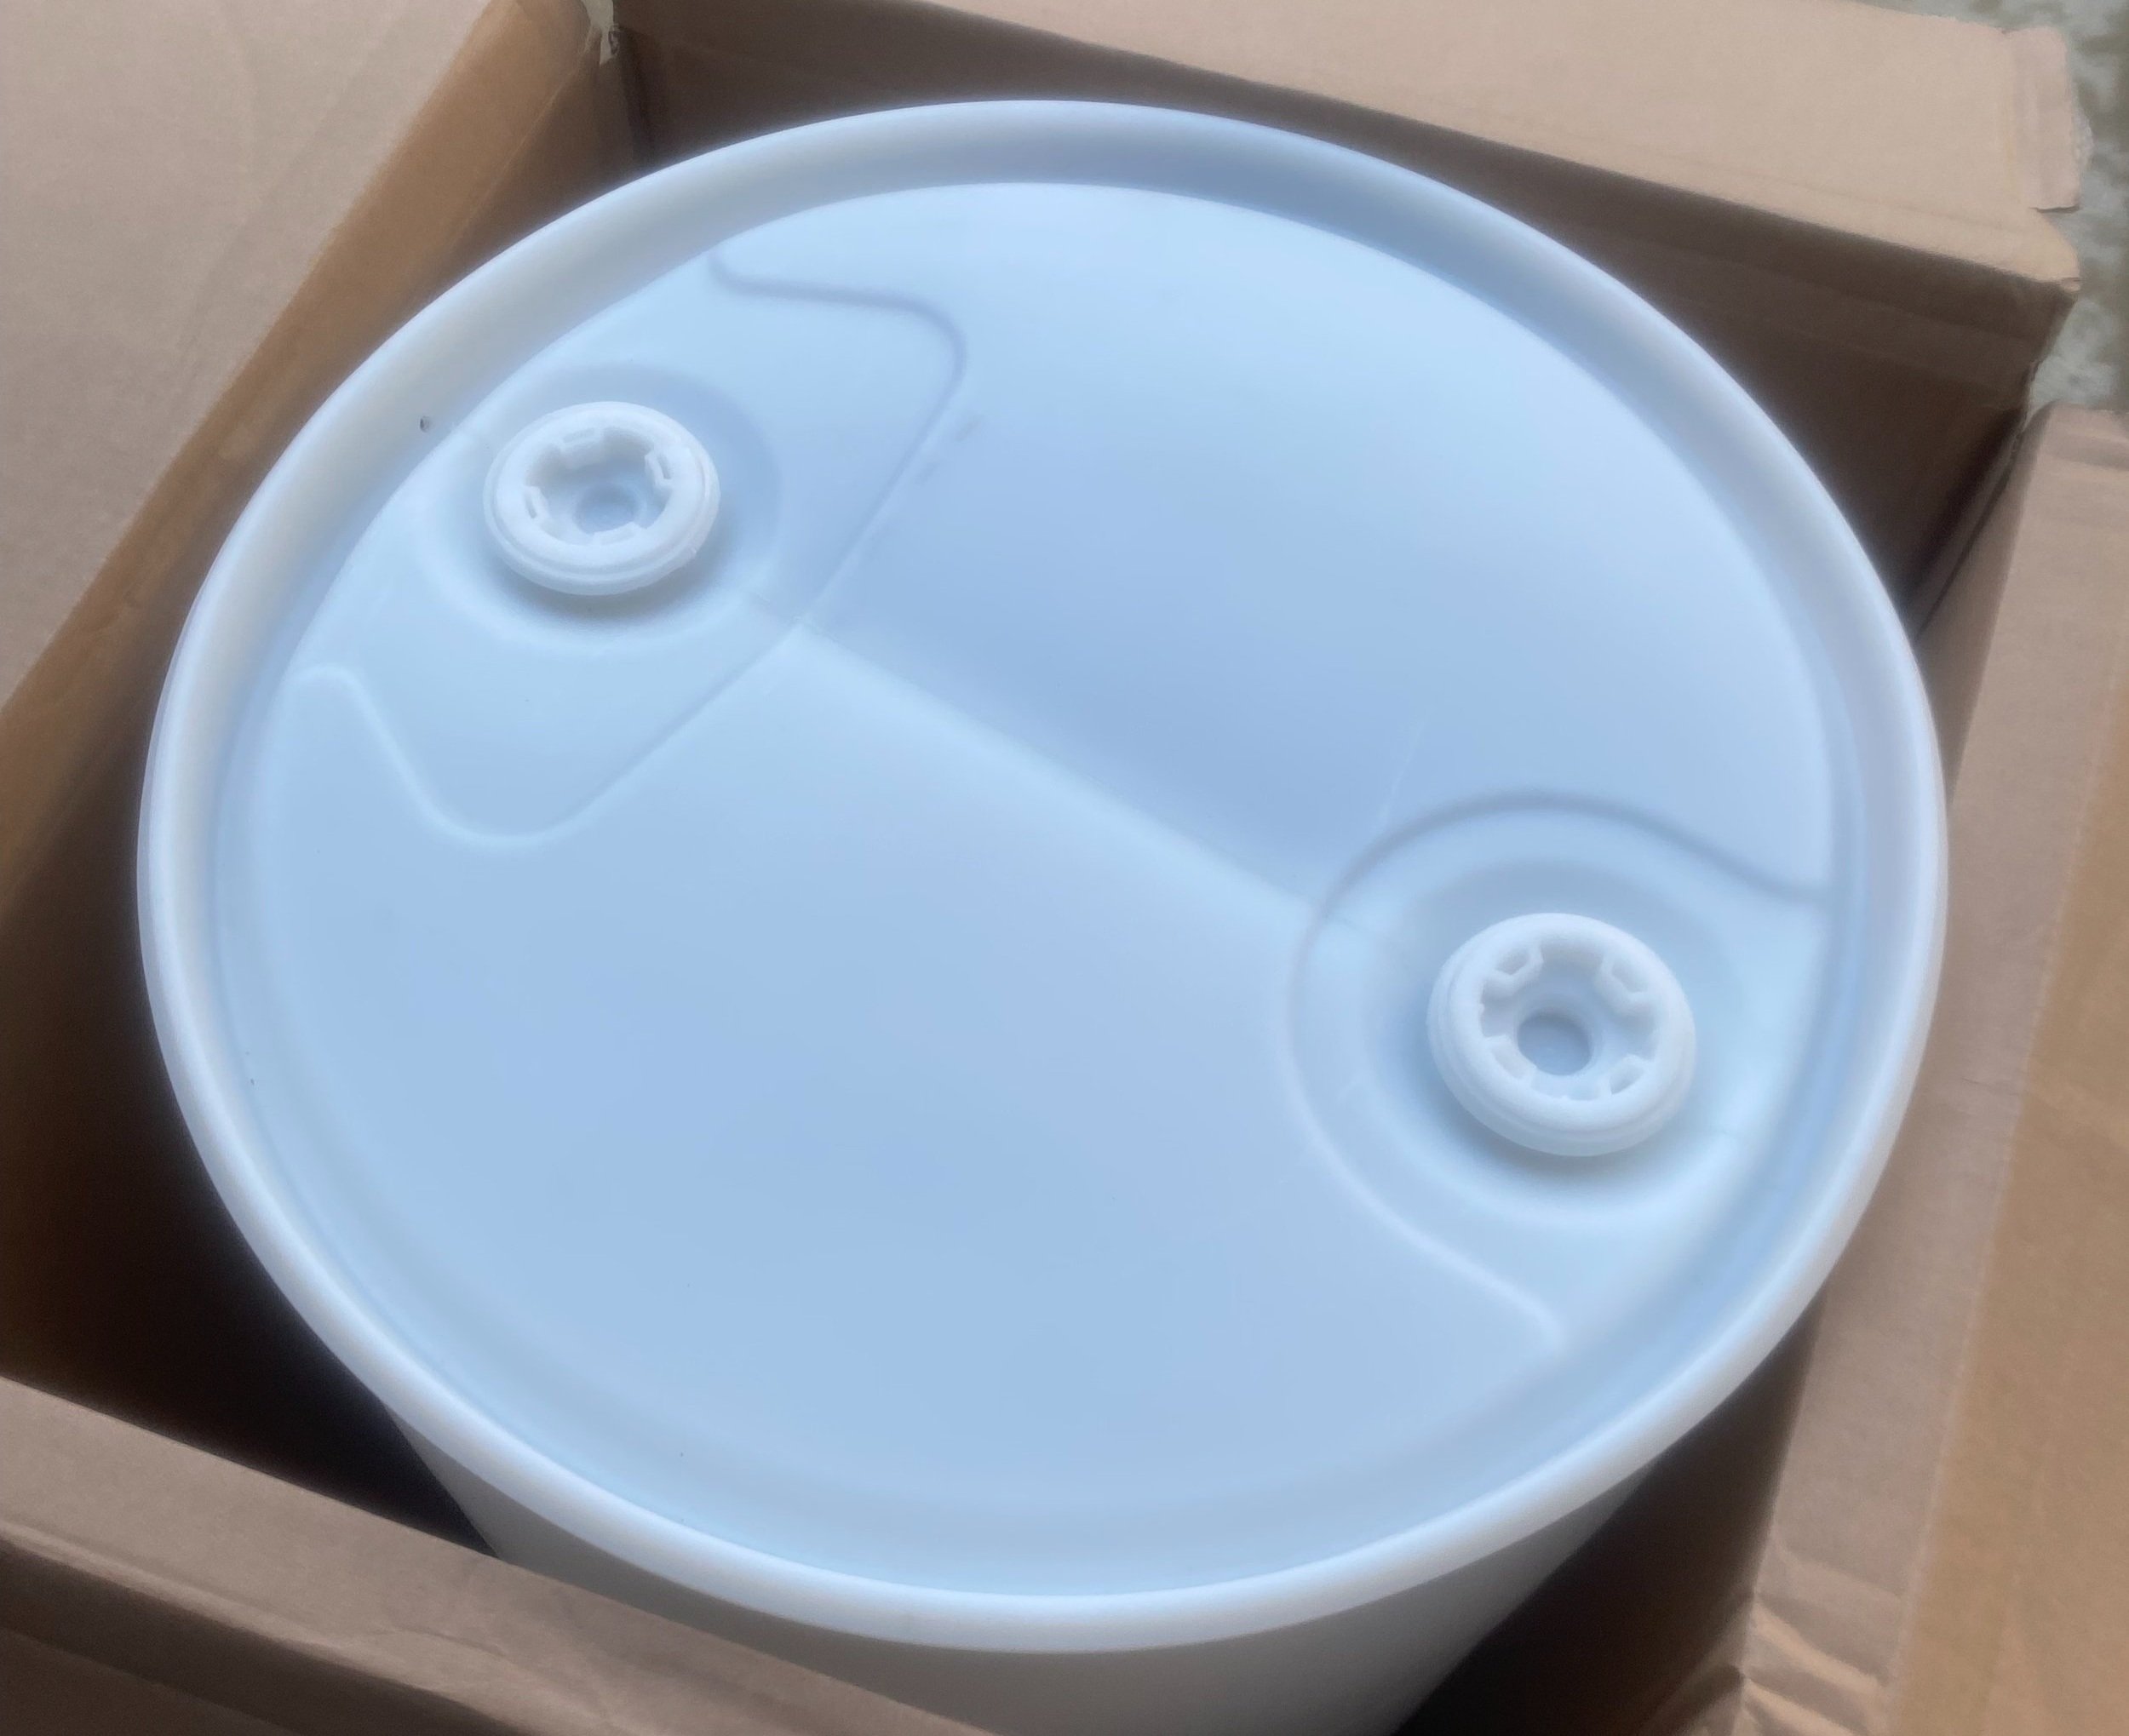
It will be helpful to have a 6’x6’ space to build your ice barrel. After receiving your plastic drum, open the container, discard the box and place the drum on its side to prepare to cut the lid for your ice barrel.
If you have a reciprocating saw, it will make the cutting process a bit easier, otherwise, get your saw and get ready to cut into the barrel.
Cut the Lid
On the most narrow section under the attached rim, begin to slowly cut your way through the plastic until you can fit the tip of your blade into the barrel. Continue to cut and rotate the drum creating a straight cut around the full circumference of the barrel.
Boom!
Once detached, flip the top over and you now have a lid for your ice barrel!
Sand the Top Edge Smooth
Using sandpaper or a random orbital sander, begin to work your way around the top edge of the barrel to create a smooth and flush surface. This step will help ensure you don’t get any scratches when getting into or out of your ice barrel.
Add the Spout
We will now drill a hole through the sidewall to allow you to create a spout to drain and clean your ice barrel.
Start by measuring and creating a mark with a marker at least 2” from the bottom of the barrel. This will serve as our drill mark.
Now, open your spigot kit and attach the included spade drill bit to your drill.
Line up the bit with the drill mark and begin to drill, creating a hole through the sidewall.
Use the rubber plug that is included in your kit to plug the hole you just created.
Finally, insert your spigot into the plug to create your full seal.
Bonus Tip- Use the screw-on cap to seal your spigot. This will likely result in a fully watertight seal as compared to the on/off spigot.
Add Support and Elevate the Base
Now that you have your water-tight barrel, it’s time to create some simple blocks to elevate the barrel from the ground. Using a 2”x4”, mark at least 4- 3” block sections to be cut and used for elevating your barrel.
Using your saw (or circular saw) cut the 4 pieces and gather them to place in the final location of your ice barrel.
Place and Elevate your Ice Barrel
Find a location for your Barrel where you can easily drain your water. I chose a location on my back porch where I can fill and drain my barrel directly into the river rocks on my side yard.
Place your 4 blocks under each side of the barrel to create space between the bottom and the ground.
Fill the Ice Barrel
Using a hose, fill the barrel about 2/3rds of the way. There’s typically a line at this level that you can use for measurement. I weigh 225 lbs and am 6’ tall so I displace a good amount of water. If you are smaller then you can add a bit more water and if you are larger you may add a bit less (If you are over 6’ or 225 lbs it may be beneficial to check out our other post on converting a chest freezer into a temperature-regulated cold plunge.)
Add Ice and Get the Water to Temperature
If you are living in a cold climate then feel free to skip this step, you are done!
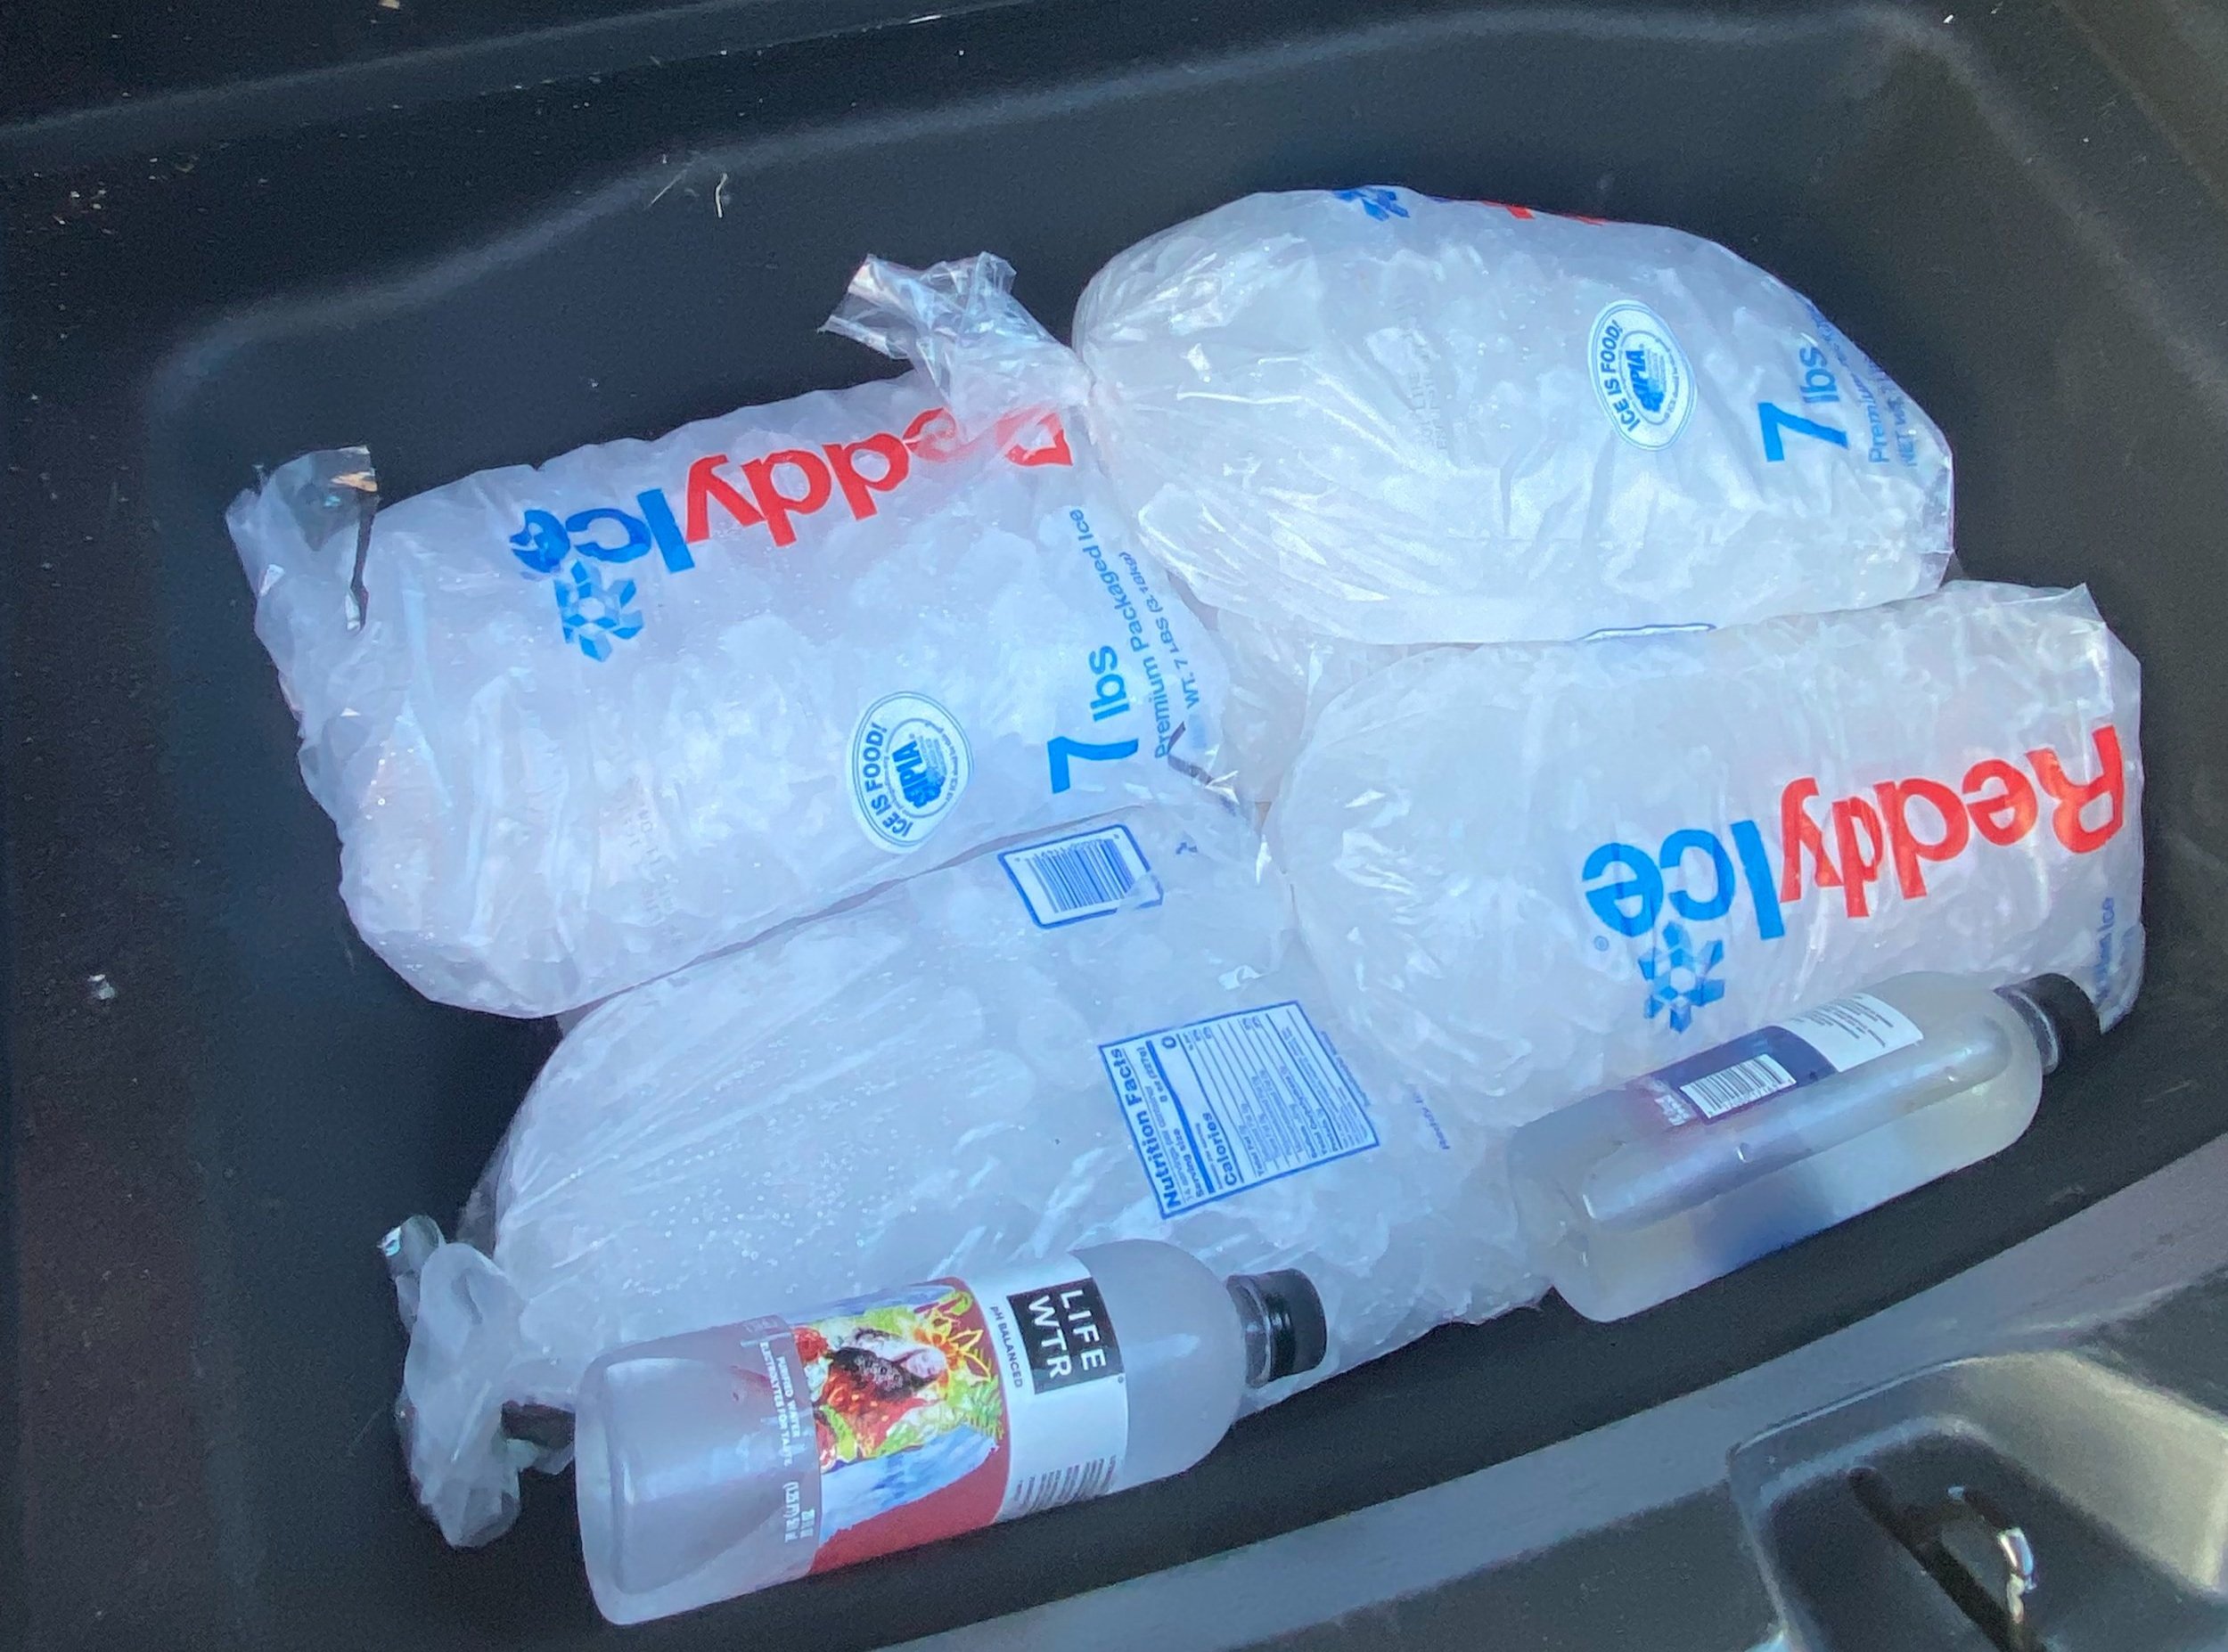
If you need to cool the water to temperature then this is where ice comes in. I used 6 bags of ice for my first plunge. This worked well to get the water to a temperature in the high 40’s. The amount of ice you add will depend on the environmental temperature in your location.
Jump in and Chill Out!
Get a sturdy object about 2’ tall to use as a step.
Grab a towel if you’d like and get started!
For your first plunge, 2-3 minutes is an excellent target. However, listen to your body, if you need less time, great! We are not trying to promote hypothermia in the body but trying to provide a small and beneficial stimulus.
If your water temperature is around 50 degrees Fahrenheit it may even feel nice to stay in longer.
Test it for yourself, enjoy the cold water, and see what feels best.
Bonus- Build a Step for your Ice Barrel!
If you’re looking to upgrade your barrel, you can easily build a simple step stool to make getting into and out of the ice just a bit easier.
Using 2x4’s, 3/4” plywood, and all-weather primer you can build a simple two-step staircase to make an easy transition into your Ice Bath. (I used recycled materials that I picked up for free from a local neighbor.)
Start by sketching the shape of your step on the plywood. Cut your first template out and use that to sketch the second template. After cutting each of these with your saw, take measurements for your top step height and bottom step height. You will be cutting 3 tall 2x4”s and 5 small 2x4”s. Finally, cut the plywood for your top and bottom steps. If you’re just using plywood, then 2 layers are needed to create a sturdy surface. If you opt for melamine, you can use 1 layer of plywood and the other layer of melamine.
After assembling the step, move to a location with cardboard where you can apply your all-weather primer. After allowing sufficient time for the steps to dry, place your step against your new ice barrel and you are ready to plunge in style!
Enjoy!
If you’d like a paper copy of the instructions enter your email address below to download the guide to print or to save on your phone.
If you do build your own, take pictures and tag us @whealth on IG or Facebook. We’d love to see what you design.
Here’s to your good health!
